Rooting Fig Cuttings Using the Water Method
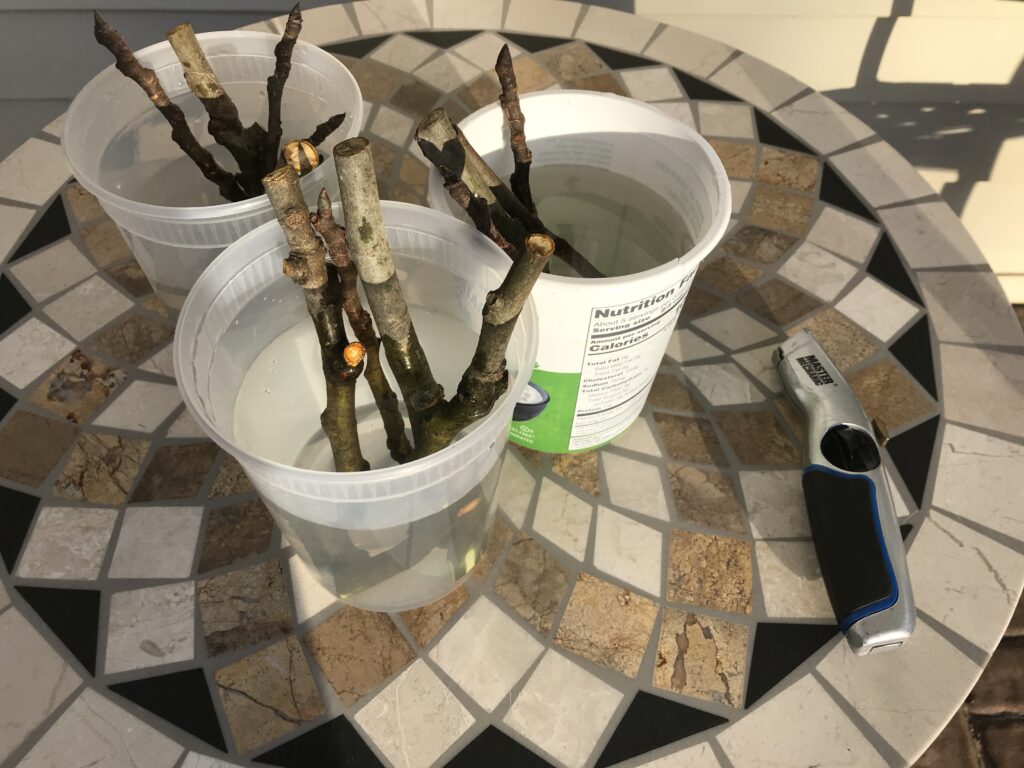
I recommend this method to those who are starting to root cuttings because you can see the progress being made effortlessly without disturbing the cutting(s). Also, the materials needed are minimal and found around the house.
DO NOT LET THE ROOTS GROW TOO LONG! You will have major difficulties up-potting these cuttings.
Allow the roots to grow no longer than 1/8 inch (3 mm). This will make up-potting much easier and prevent the roots from breaking off.
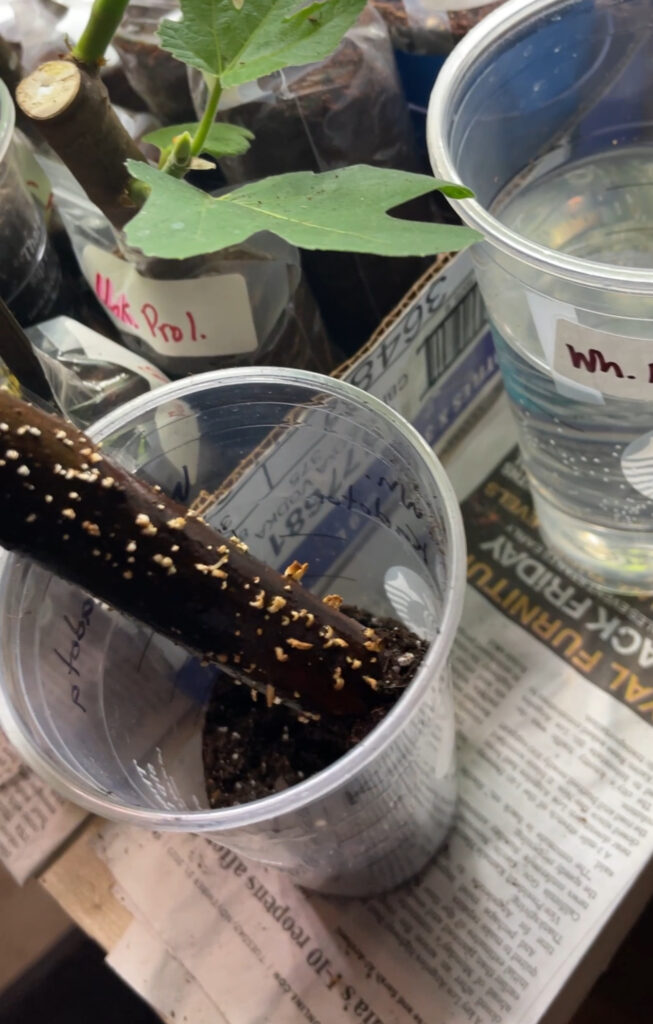
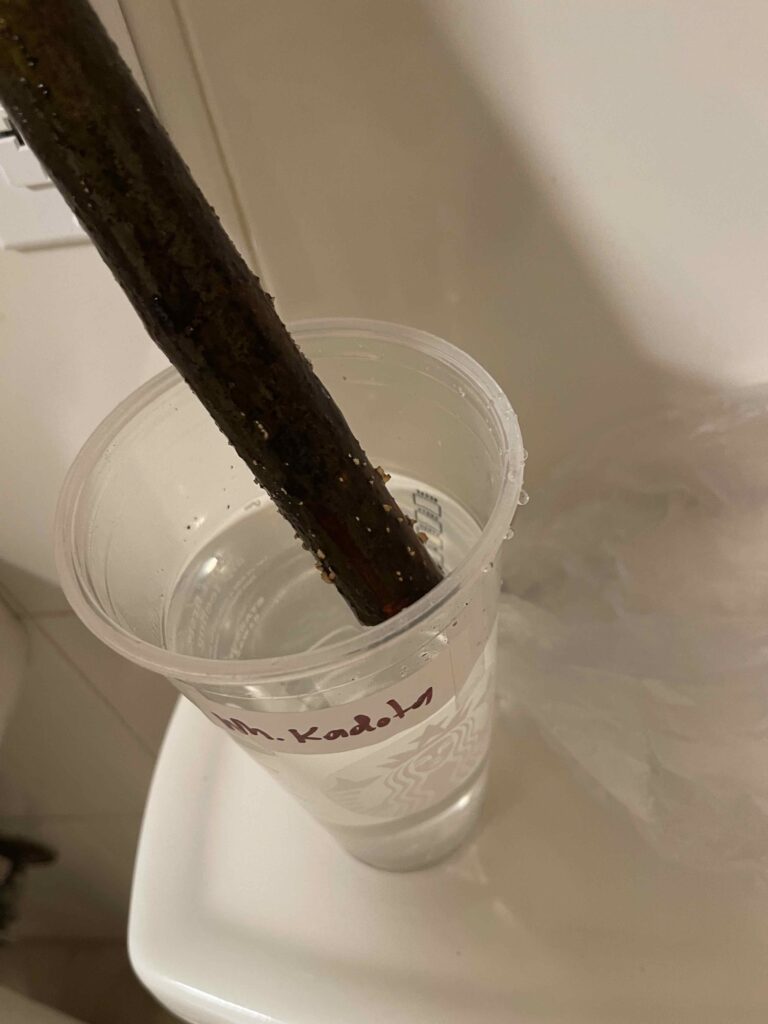
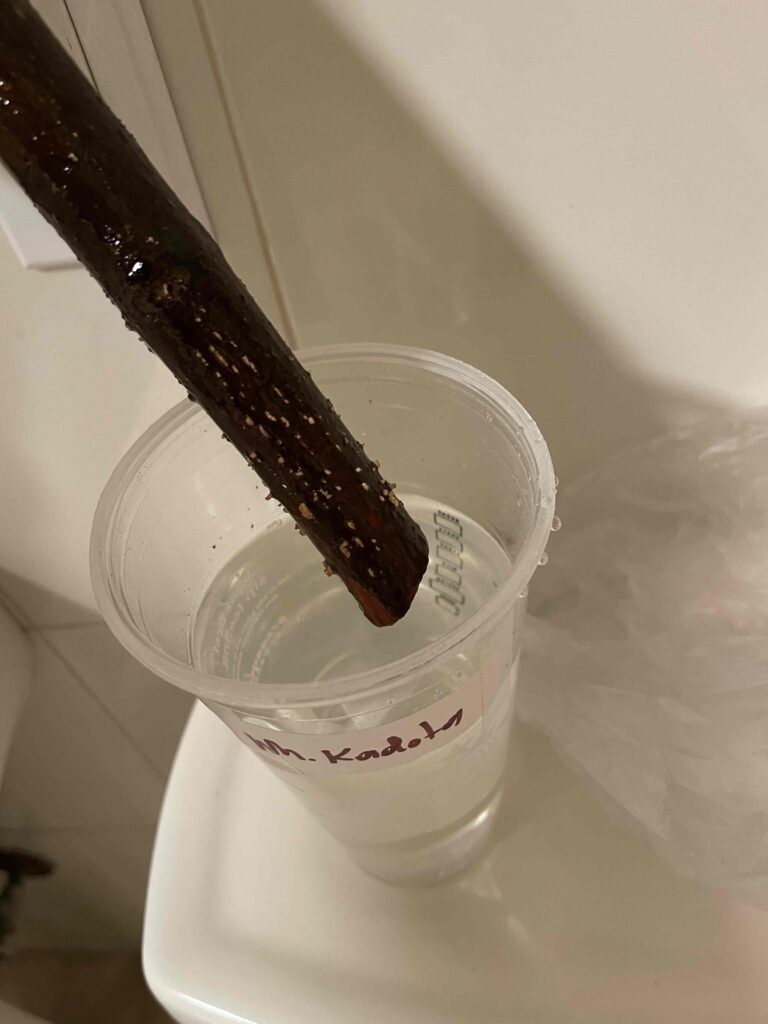
Throughout the year, when I order a cold drink from Starbucks or Noble Roasters, just to mention a few, after I finish my drink I save the cup. Later, when I get home, I wash the cup and set it aside. You can also use other non-transparent drinking vessels, such as SOLO cups, but checking the rooting progress will not be as easy and effortless.
So, your cuttings have been prepped (washed and cleaned), and you’re ready to start the rooting process.
You will need the following:
- The cuttings.
- A few plastic, transparent cups, one cup per four cuttings.
- Mat knife or razor blade.
- Water.
- Very thin plastic bags similar to those available in the vegetable department at your supermarket. One per cup.
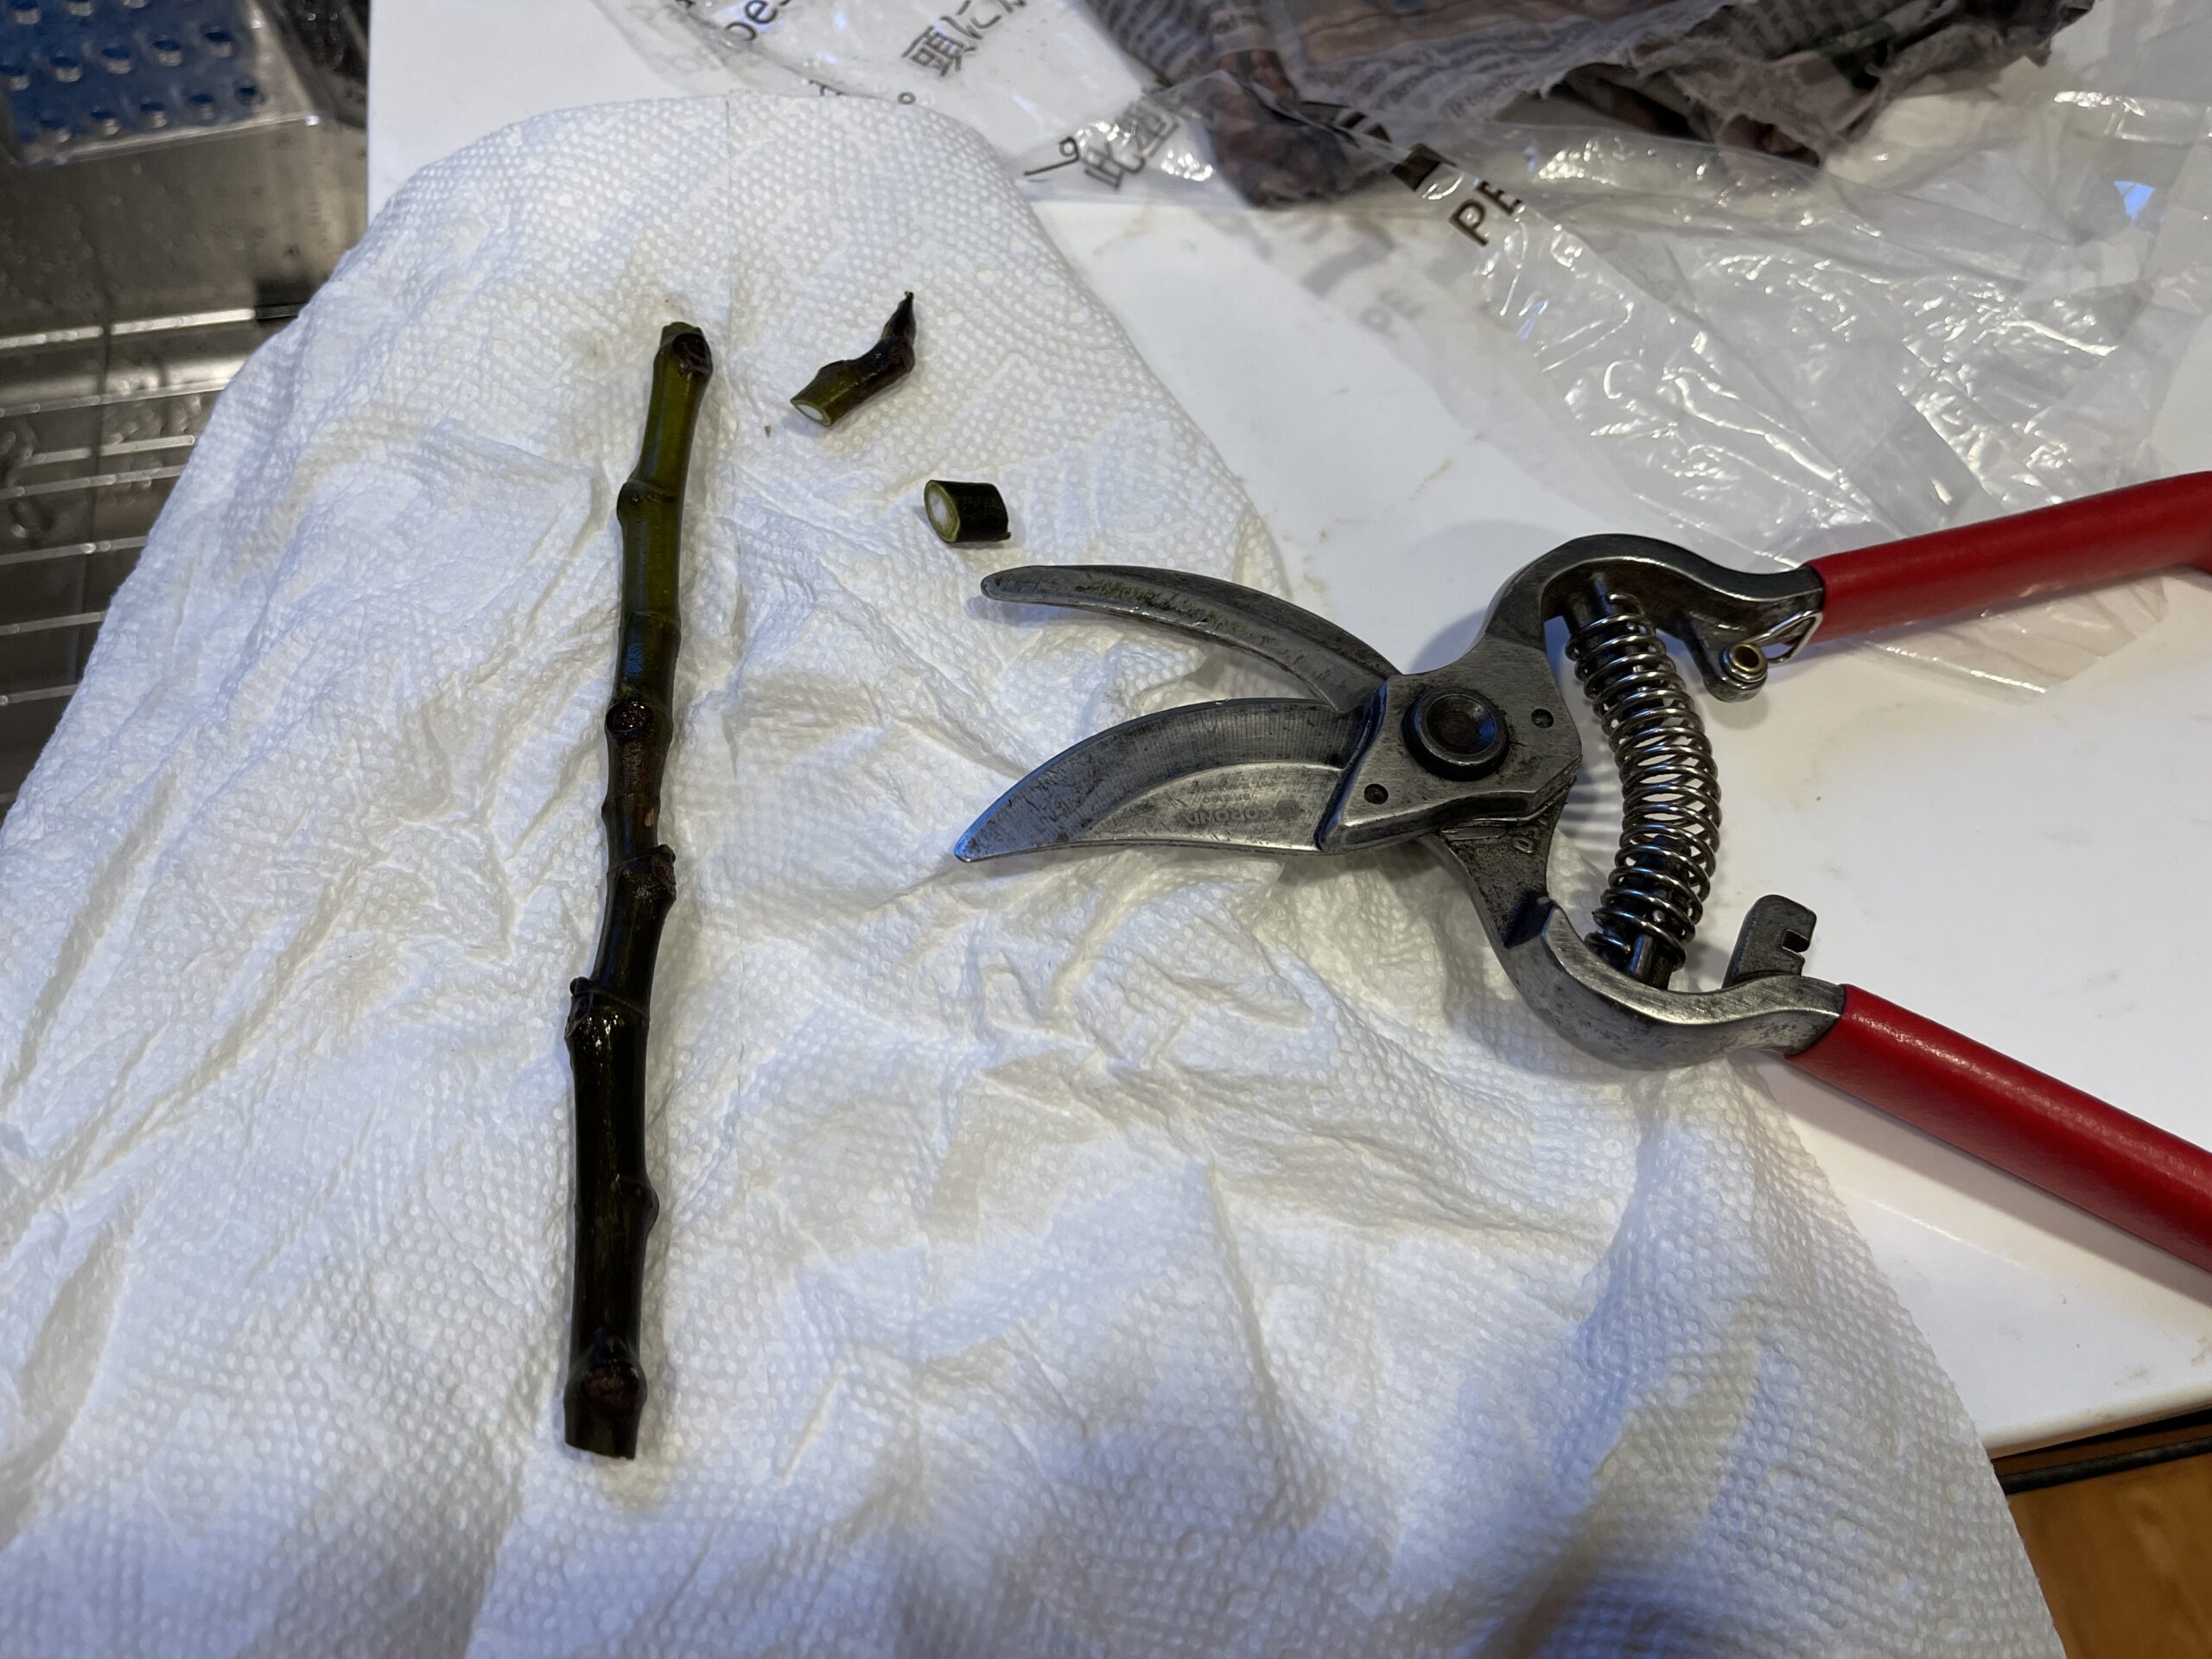
As shown in the image above, the cutting’s terminal bud was pruned. The reason for the removal of the terminal is to stop the cutting’s growth and to divert the excess energy to creating a root system. Also, make a fresh cut on the other side of the cutting, as shown above. If the cutting does not have a terminal bud, make a fresh cut there too. If the cutting is very fresh and the cuts are clean, you may not have to prune the ends, but the terminal bud should always be removed.

You should also sacrifice the node located at the bottom of the cutting because it will be very low and under the top of the rooting medium. Nodes want to grow branches, leaves, or fruit, and we don’t want any of that growing at the bottom of the cup. The image below shows four Red Lebanese cuttings that had their bottom node sacrificed using a razor blade. Also, using a razor blade, I removed three or four sections of each cutting, exposing the white sapwood.
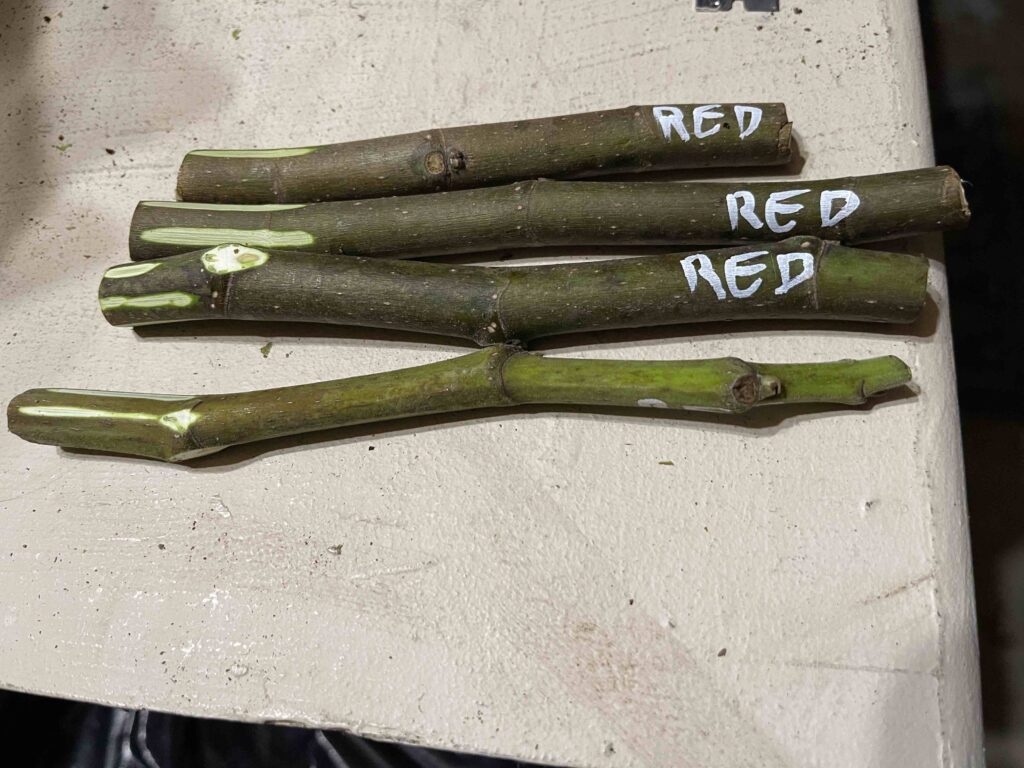
Use a mat knife or a razor blade to scratch the bark of the bottom of the fig cutting to help with the root development. This action is identical to the air layer method, where you must strip the bark and cambium layer, exposing the sapwood (white) prior to wrapping the branch. The cambium layer is part of the trunk that grows and produces more bark and wood.
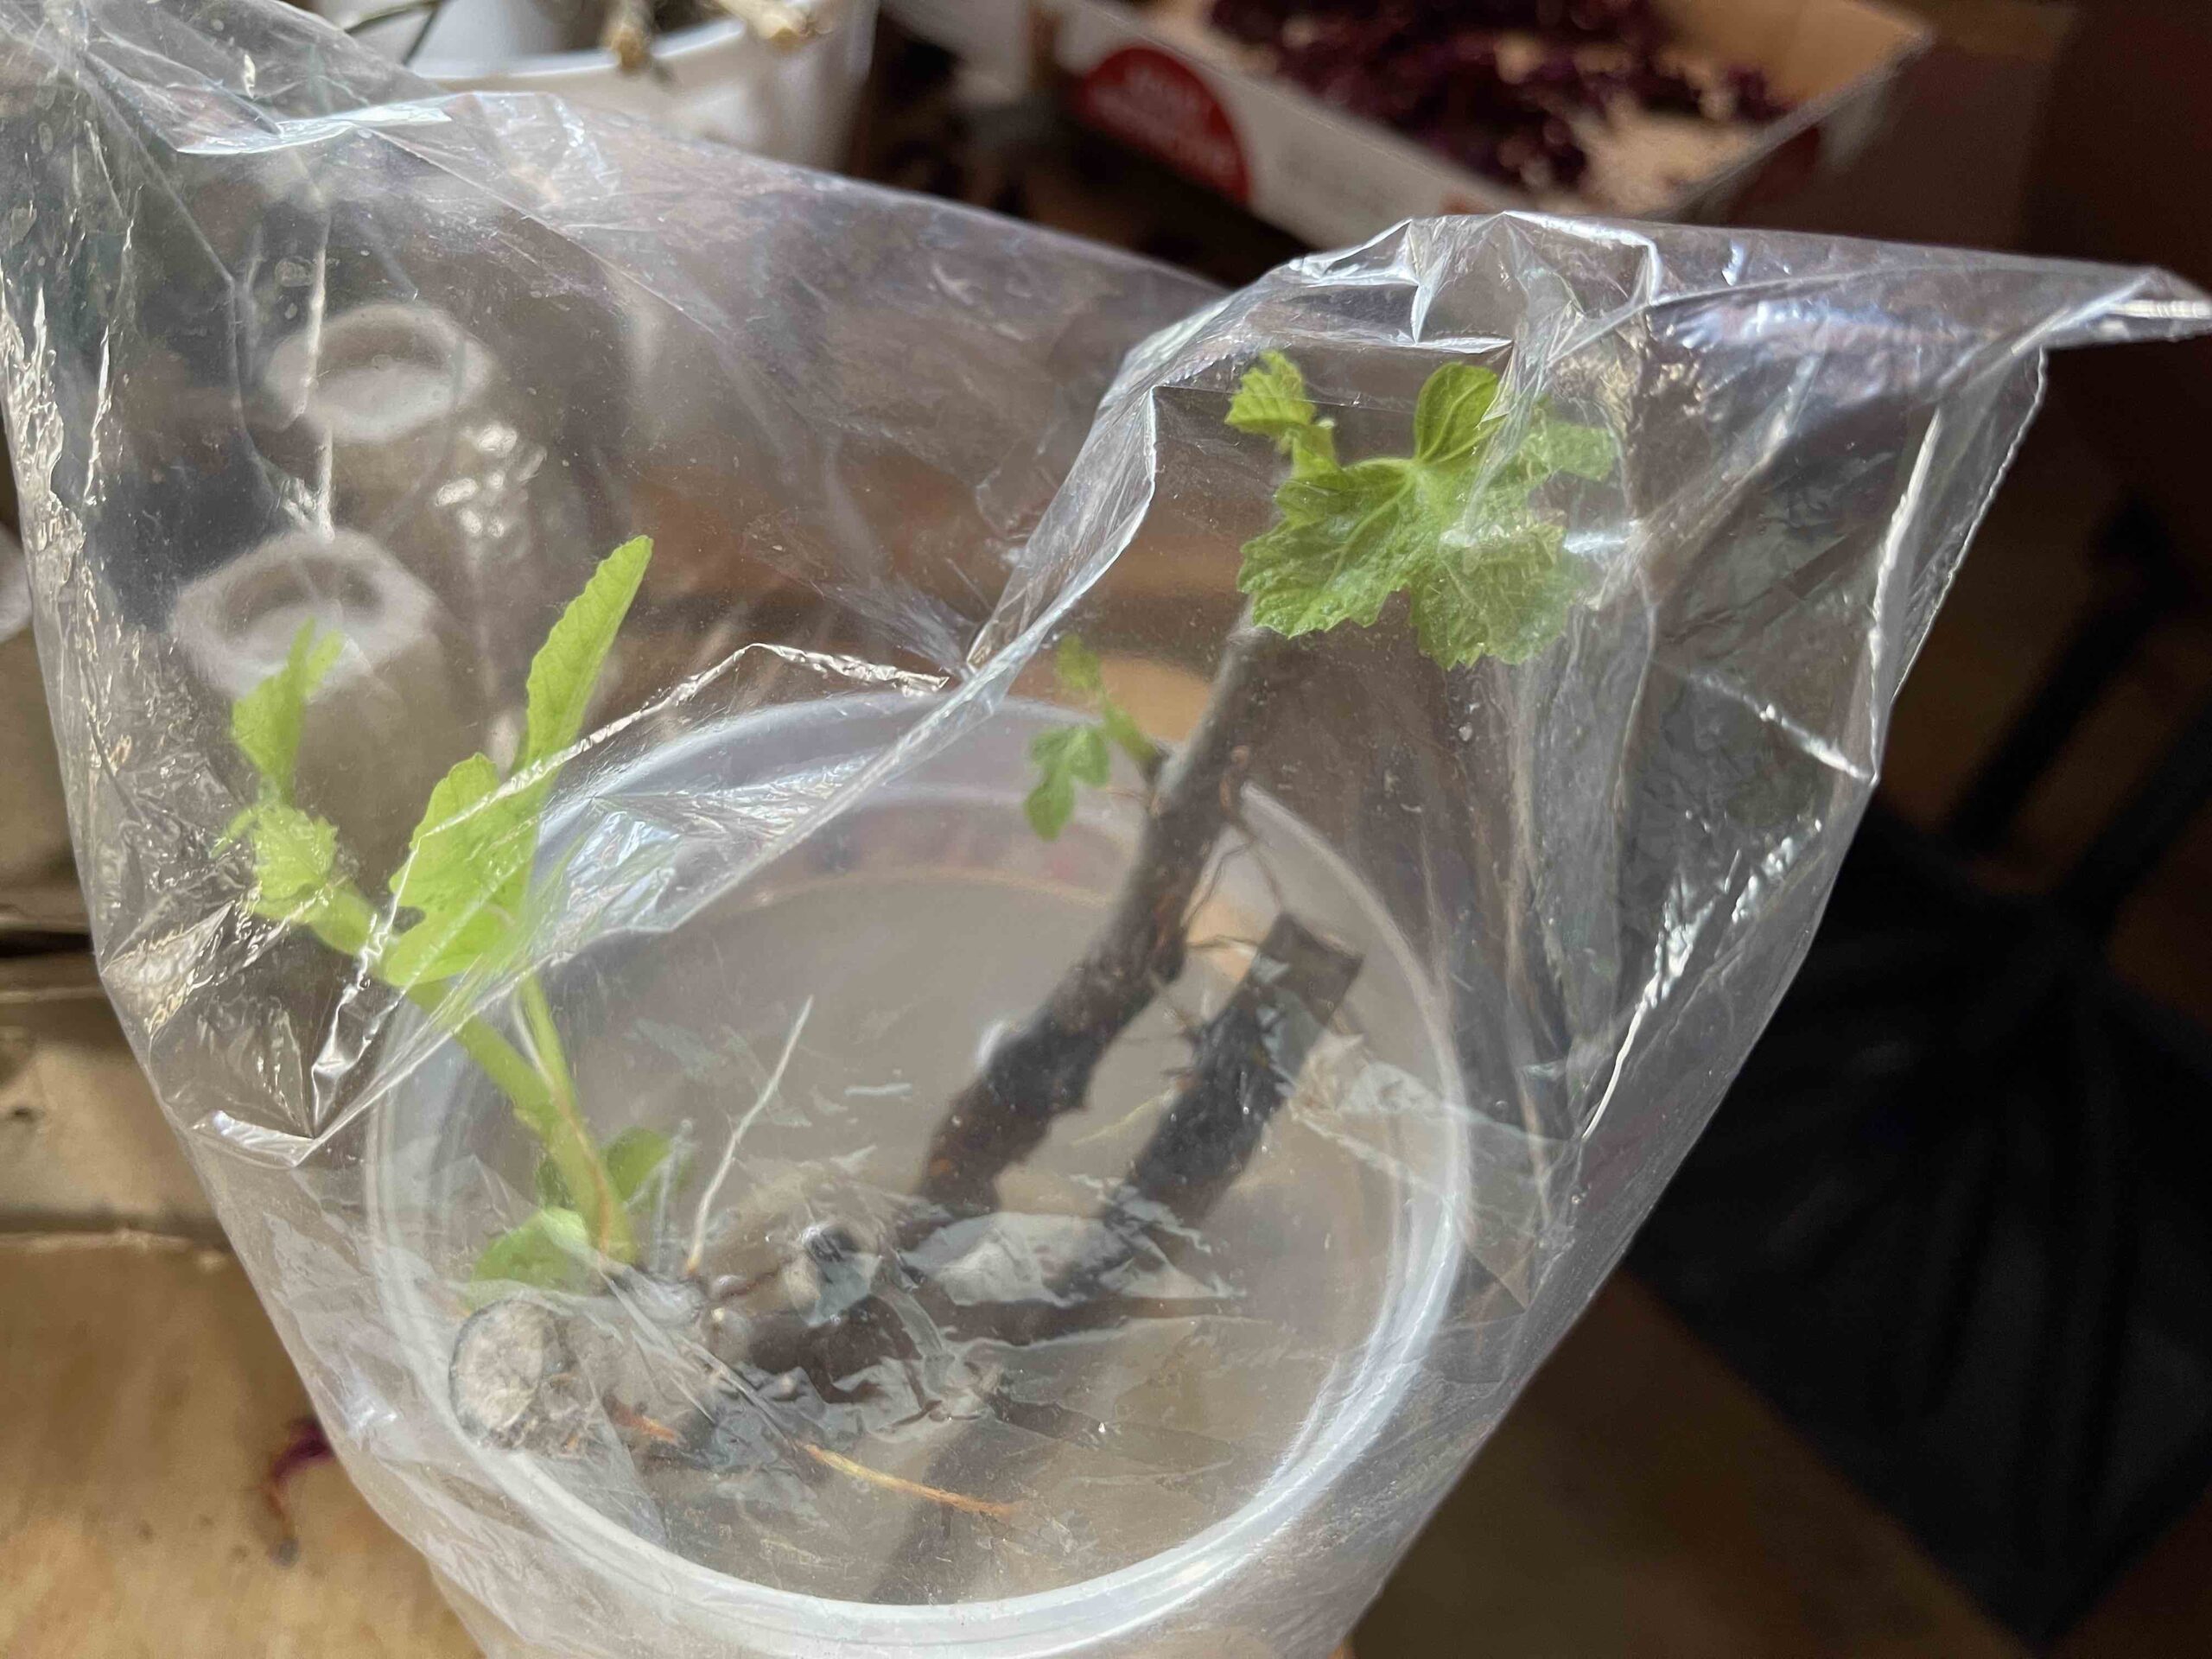
Now all you have to do is create a humidity dome so the cuttings will not dry up. I use those thin bags that I put my vegetables in at the supermarket. After a supermarket visit, I save those bags and use them to root cuttings.
Set the cup, with the cuttings that are already covered with the plastic bag, in a well-lit place, BUT NOT in direct sunlight.
CHANGE THE WATER VERY OFTEN!
I change the water once a day, and I take my time when doing it because the roots are very fragile and you don’t want to knock off those roots.
When replacing the water, try to add the same amount of water to each cup.
Observation: Sometimes having excess humidity causes extra hair-like roots to develop very high on the cutting. Do not worry because these roots are superficial and will eventually die off.
Eventually, when roots are about 2″ long, you will need to move the rooted cutting to a pot with potting soil. You may fertilize the potted cuttings, BUT use a very diluted fertilizer.
