Setting the tone: The 2026 New York winter was long, cold and snowy.
I live in Orange County, New York, and in late 2025 I winterized all eight of my in-ground fig trees. Over the years, I’ve settled on a method that has served me well. I use the same process for every tree because it works, it’s reliable, and I’ve had consistently great results with it. In gardening, when you find something that works, there’s no need to reinvent the wheel.
This post applies only to planted fig trees.
As I’ve been making my rounds through various library programs and discussing fig tree winterization with attendees, I realized something: I talk about this process often enough that I really should put it in writing. Questions come up at every presentation, and rather than relying on memory or repeating myself over and over, it seemed only fitting to create a blog post documenting the entire process. That way, I’ll have it as a reference for future fig growers and perhaps even for myself. The general steps are:
- Save leaves that have fallen from trees in a dry, protected area from the elements: rain, snow.
- Please remember that moisture is the enemy of proper winterization. Wet leaves will lead to mold and probably the killing of a fig tree.
- No access to leaves? No biggie, replace the leaves with: wood chips, one bale of DRY straw or hay. If you have access of wood chips make sure that they are not fresh because they will contain lots of moisture. From experience, if I find a pile of free wood chips I take the top layer only because it is exposed to the sun and it’s dry. I NEVER gather wood chips after rain.
- WAIT FOR THE TREE TO GO DORMANT!
- The longer you wait, the better off you are. If the tree has a leaf or two still on try cutting/snapping/removing one leaf and see if a white milky fluid appears at the cut. If this milky substance appears, it is an indication that the tree is NOT dormant yet and you should wait a bit longer. Also, don’t let that substance touch your skin because it can cause itching or blistering.
- Prune each branch down to two or three nodes.
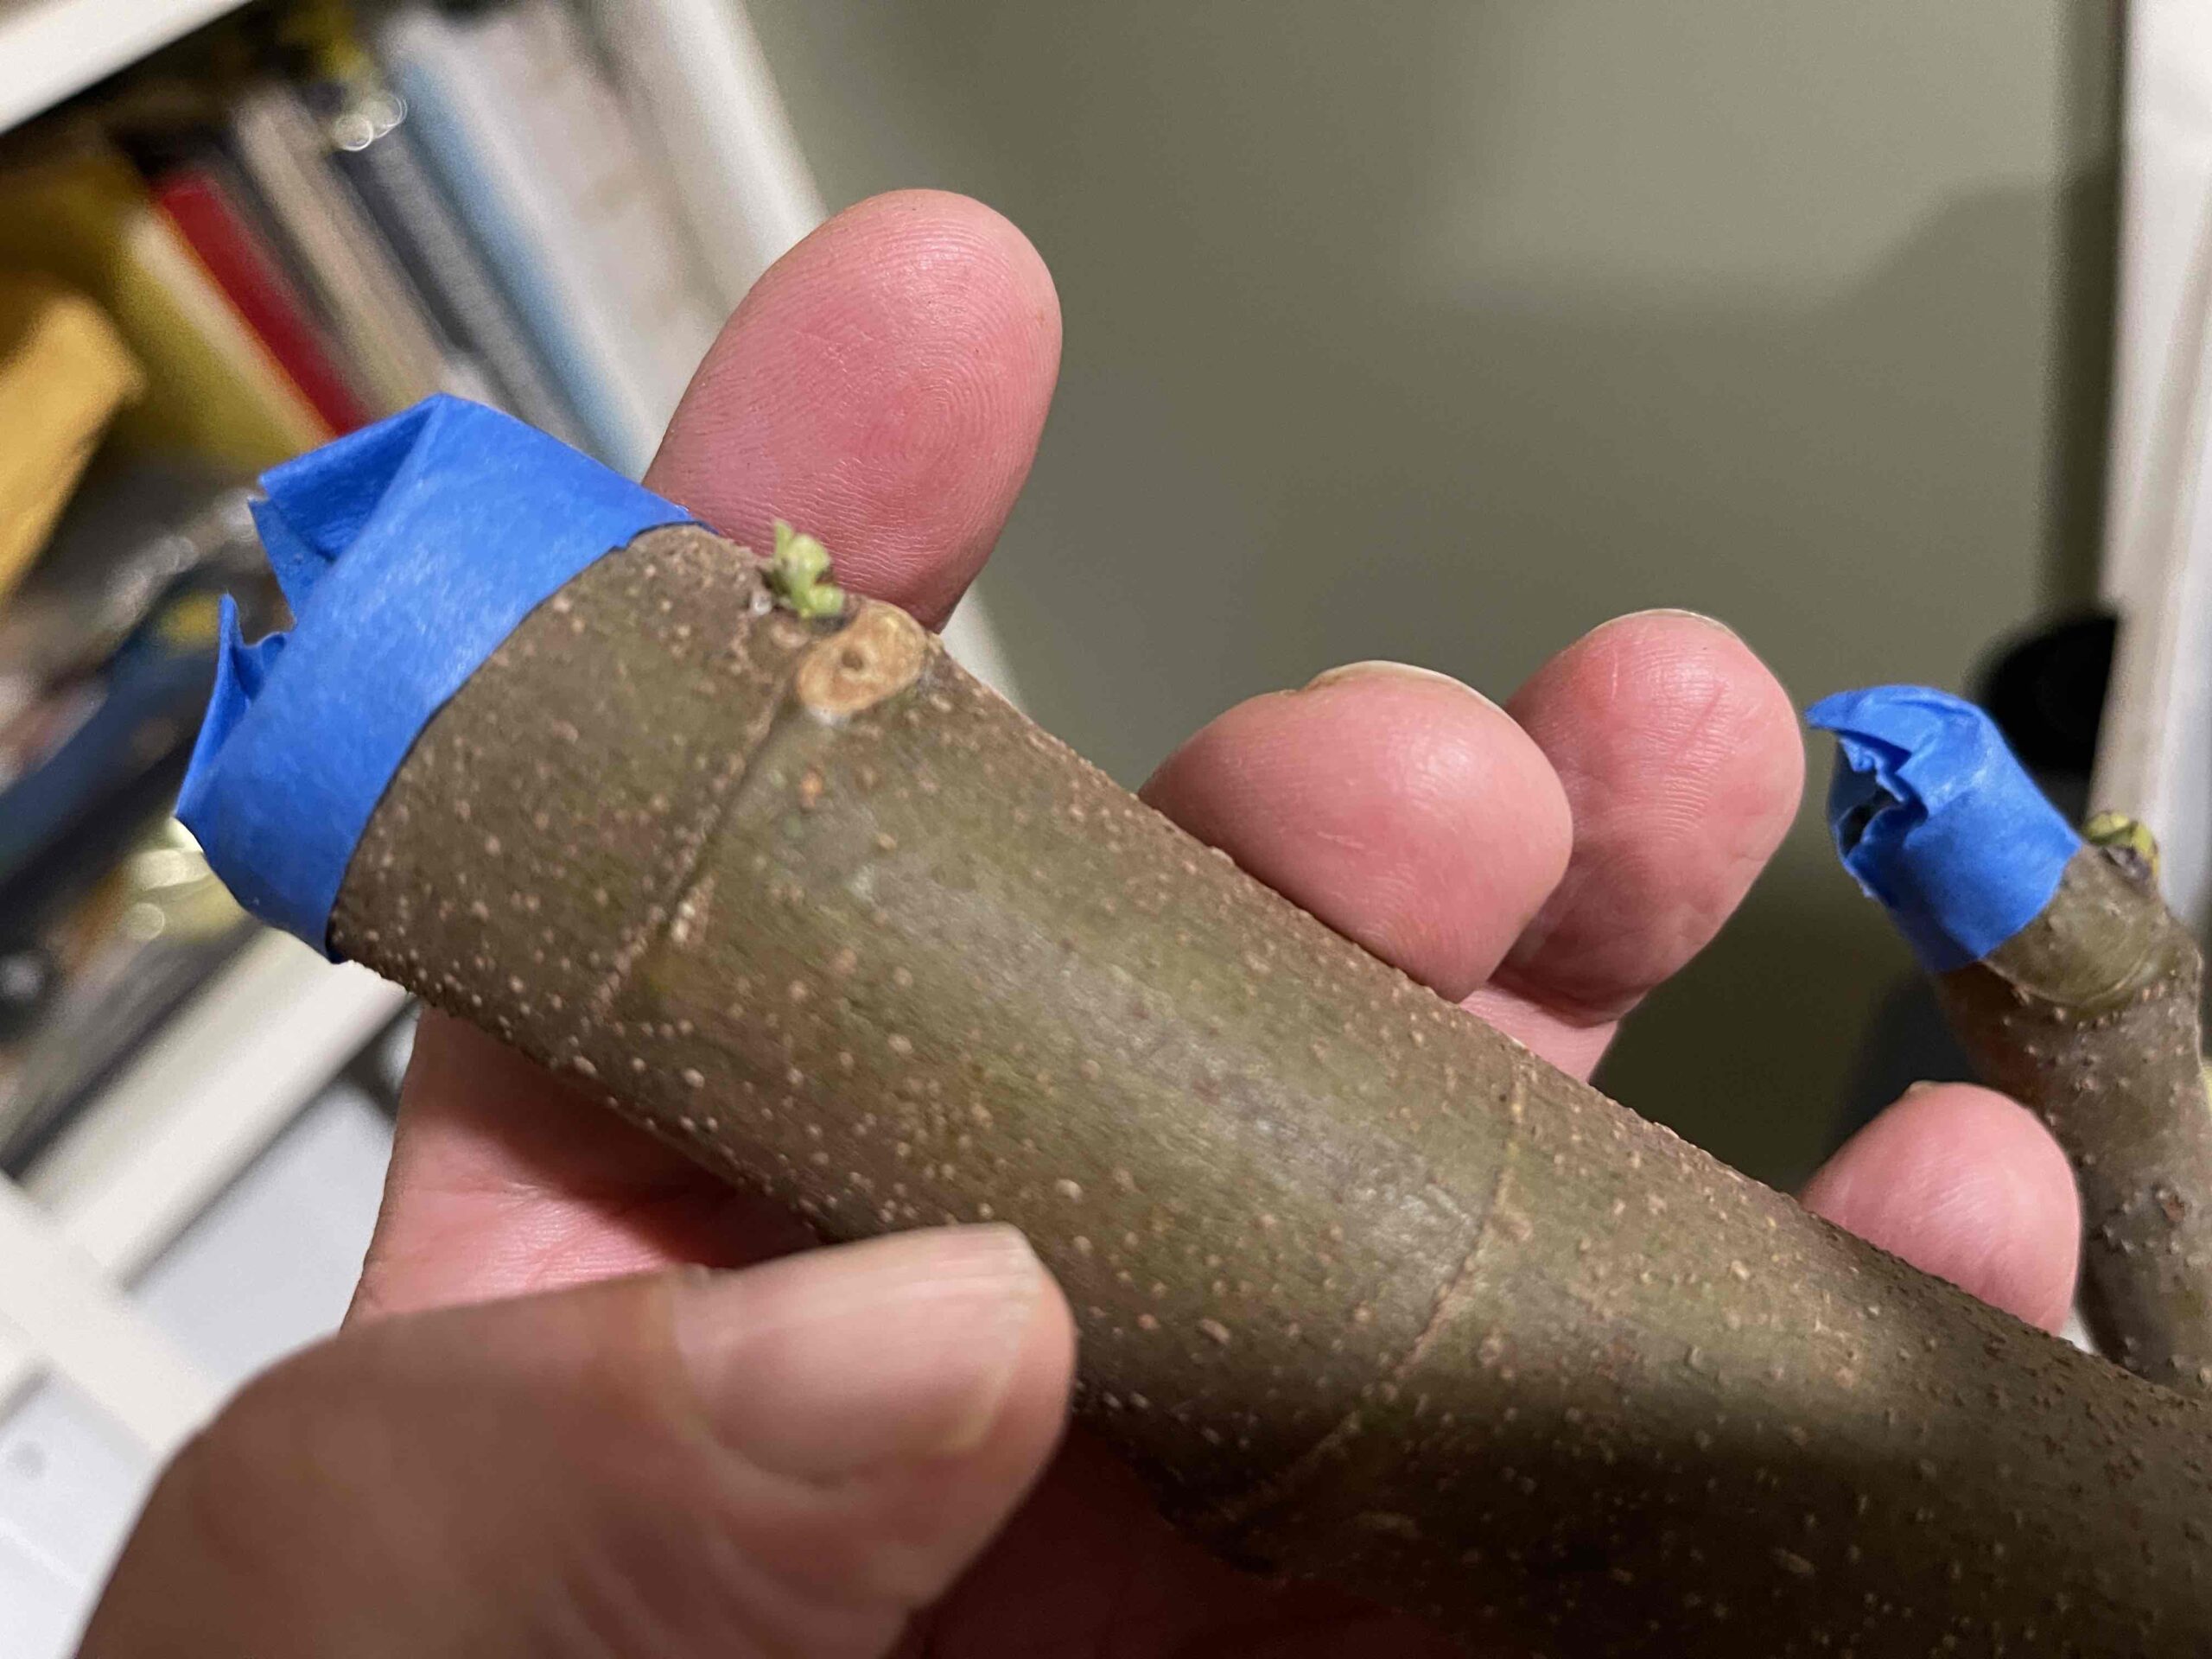
- A node is a slightly raised “ring” on the stem where a leaf, bud, or fruit emerges.
- If the branch is about pencil-thick, your pruners should handle the job nicely. If the branch is thinner than a pencil… prune it and toss it aside. Not every branch is destined for greatness because they don’t have enough energy stored in them, and simply aren’t worth saving for cuttings.
- For thicker branches, skip the pruners and reach for a saw instead. Using pruners on larger wood will crush or damage the branch tissue, and that’s something you want to avoid. For branches under about 3 inches in diameter, I like using a coping saw because it gives me good control and creates a cleaner cut.
- As you prune, keep those branches nearby and, most importantly, pay attention to their orientation. Try to maintain a clear distinction between the top and bottom ends of each branch. Trust me, your future self will thank you. Later, when you process the branches into cuttings, knowing which end is up and which is down will save time and prevent a lot of head scratching.
- Clear the area around the base of the fig tree.
- Begin piling dry leaves around the base of the fig tree and over the top of the pruned structure. Don’t be shy here, this is where you start building your insulation layer. Think of the leaves as a cozy winter blanket for your fig tree. Next, take a plastic bag and pack it tightly with dry leaves. A standard kitchen garbage bag works well and should be about the right size. And when I say pack it, I mean pack it. The more leaves you can fit into that bag, the better your insulation will be. Once filled, turn the bag upside down and place it over the fig tree. Unfortunately, I don’t have a photo of this step, but imagine placing a leaf-filled protective dome right over the sleeping fig. Now comes a small but absolutely critical detail. Using scissors, cut 4–5 small openings near the top of the bag. These holes allow moisture to escape. Even dry leaves contain some residual moisture, and without ventilation condensation can build up inside the bag during winter. Let me repeat this because it matters: these openings are not optional, they are critical to the success of this entire operation. A few small cuts now can make the difference between a healthy fig tree in spring and an unpleasant surprise during the unveiling.
- Use 3-4 scrap pieces of wood to secure the bag to the ground.
- Here is a nifty, must-see, step-by-step video that demonstrates this process:
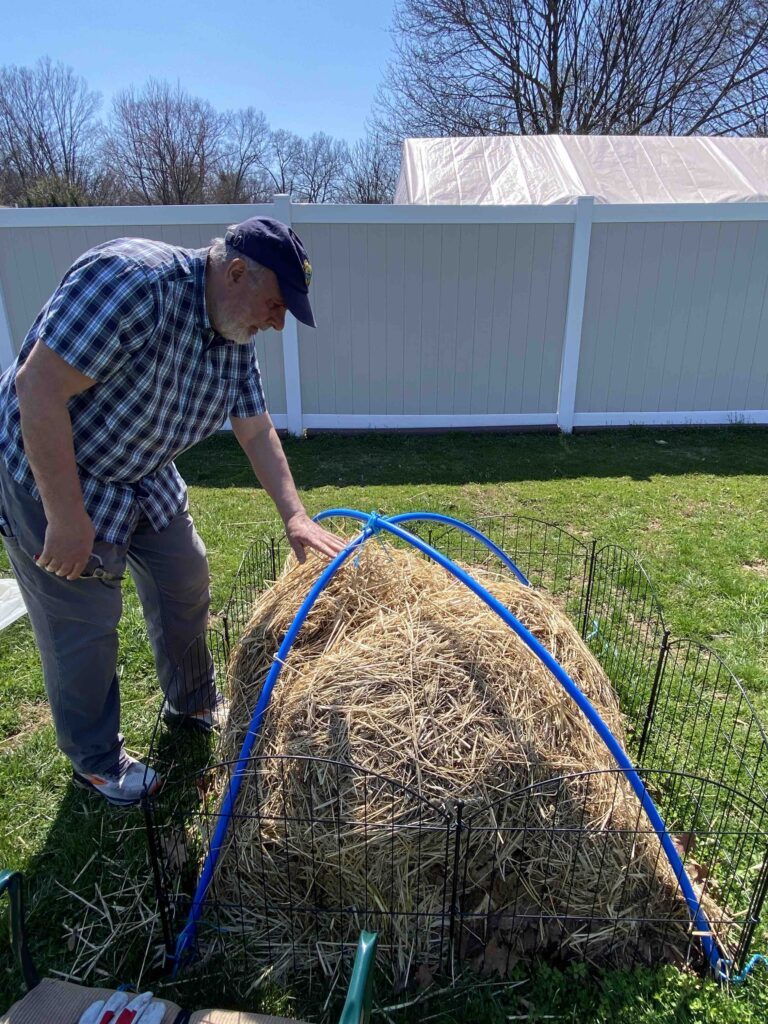
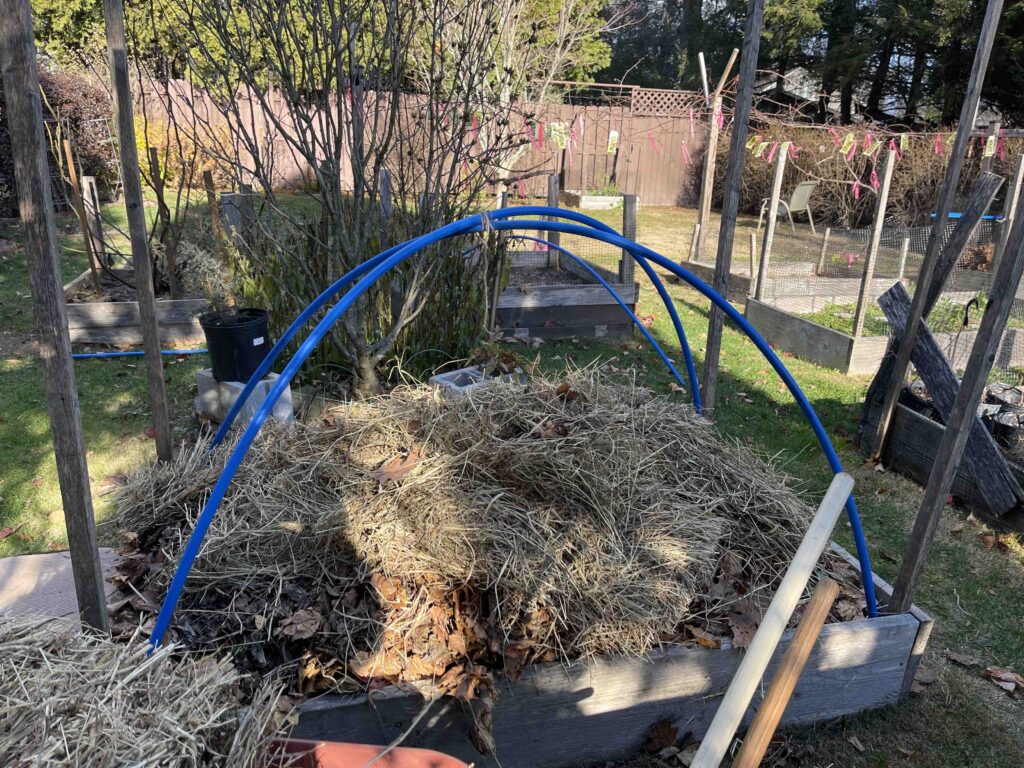
- Now comes the easy part. Use a full bale of straw or hay on top of and around the plastic bag. Make sure the hay is DRY.
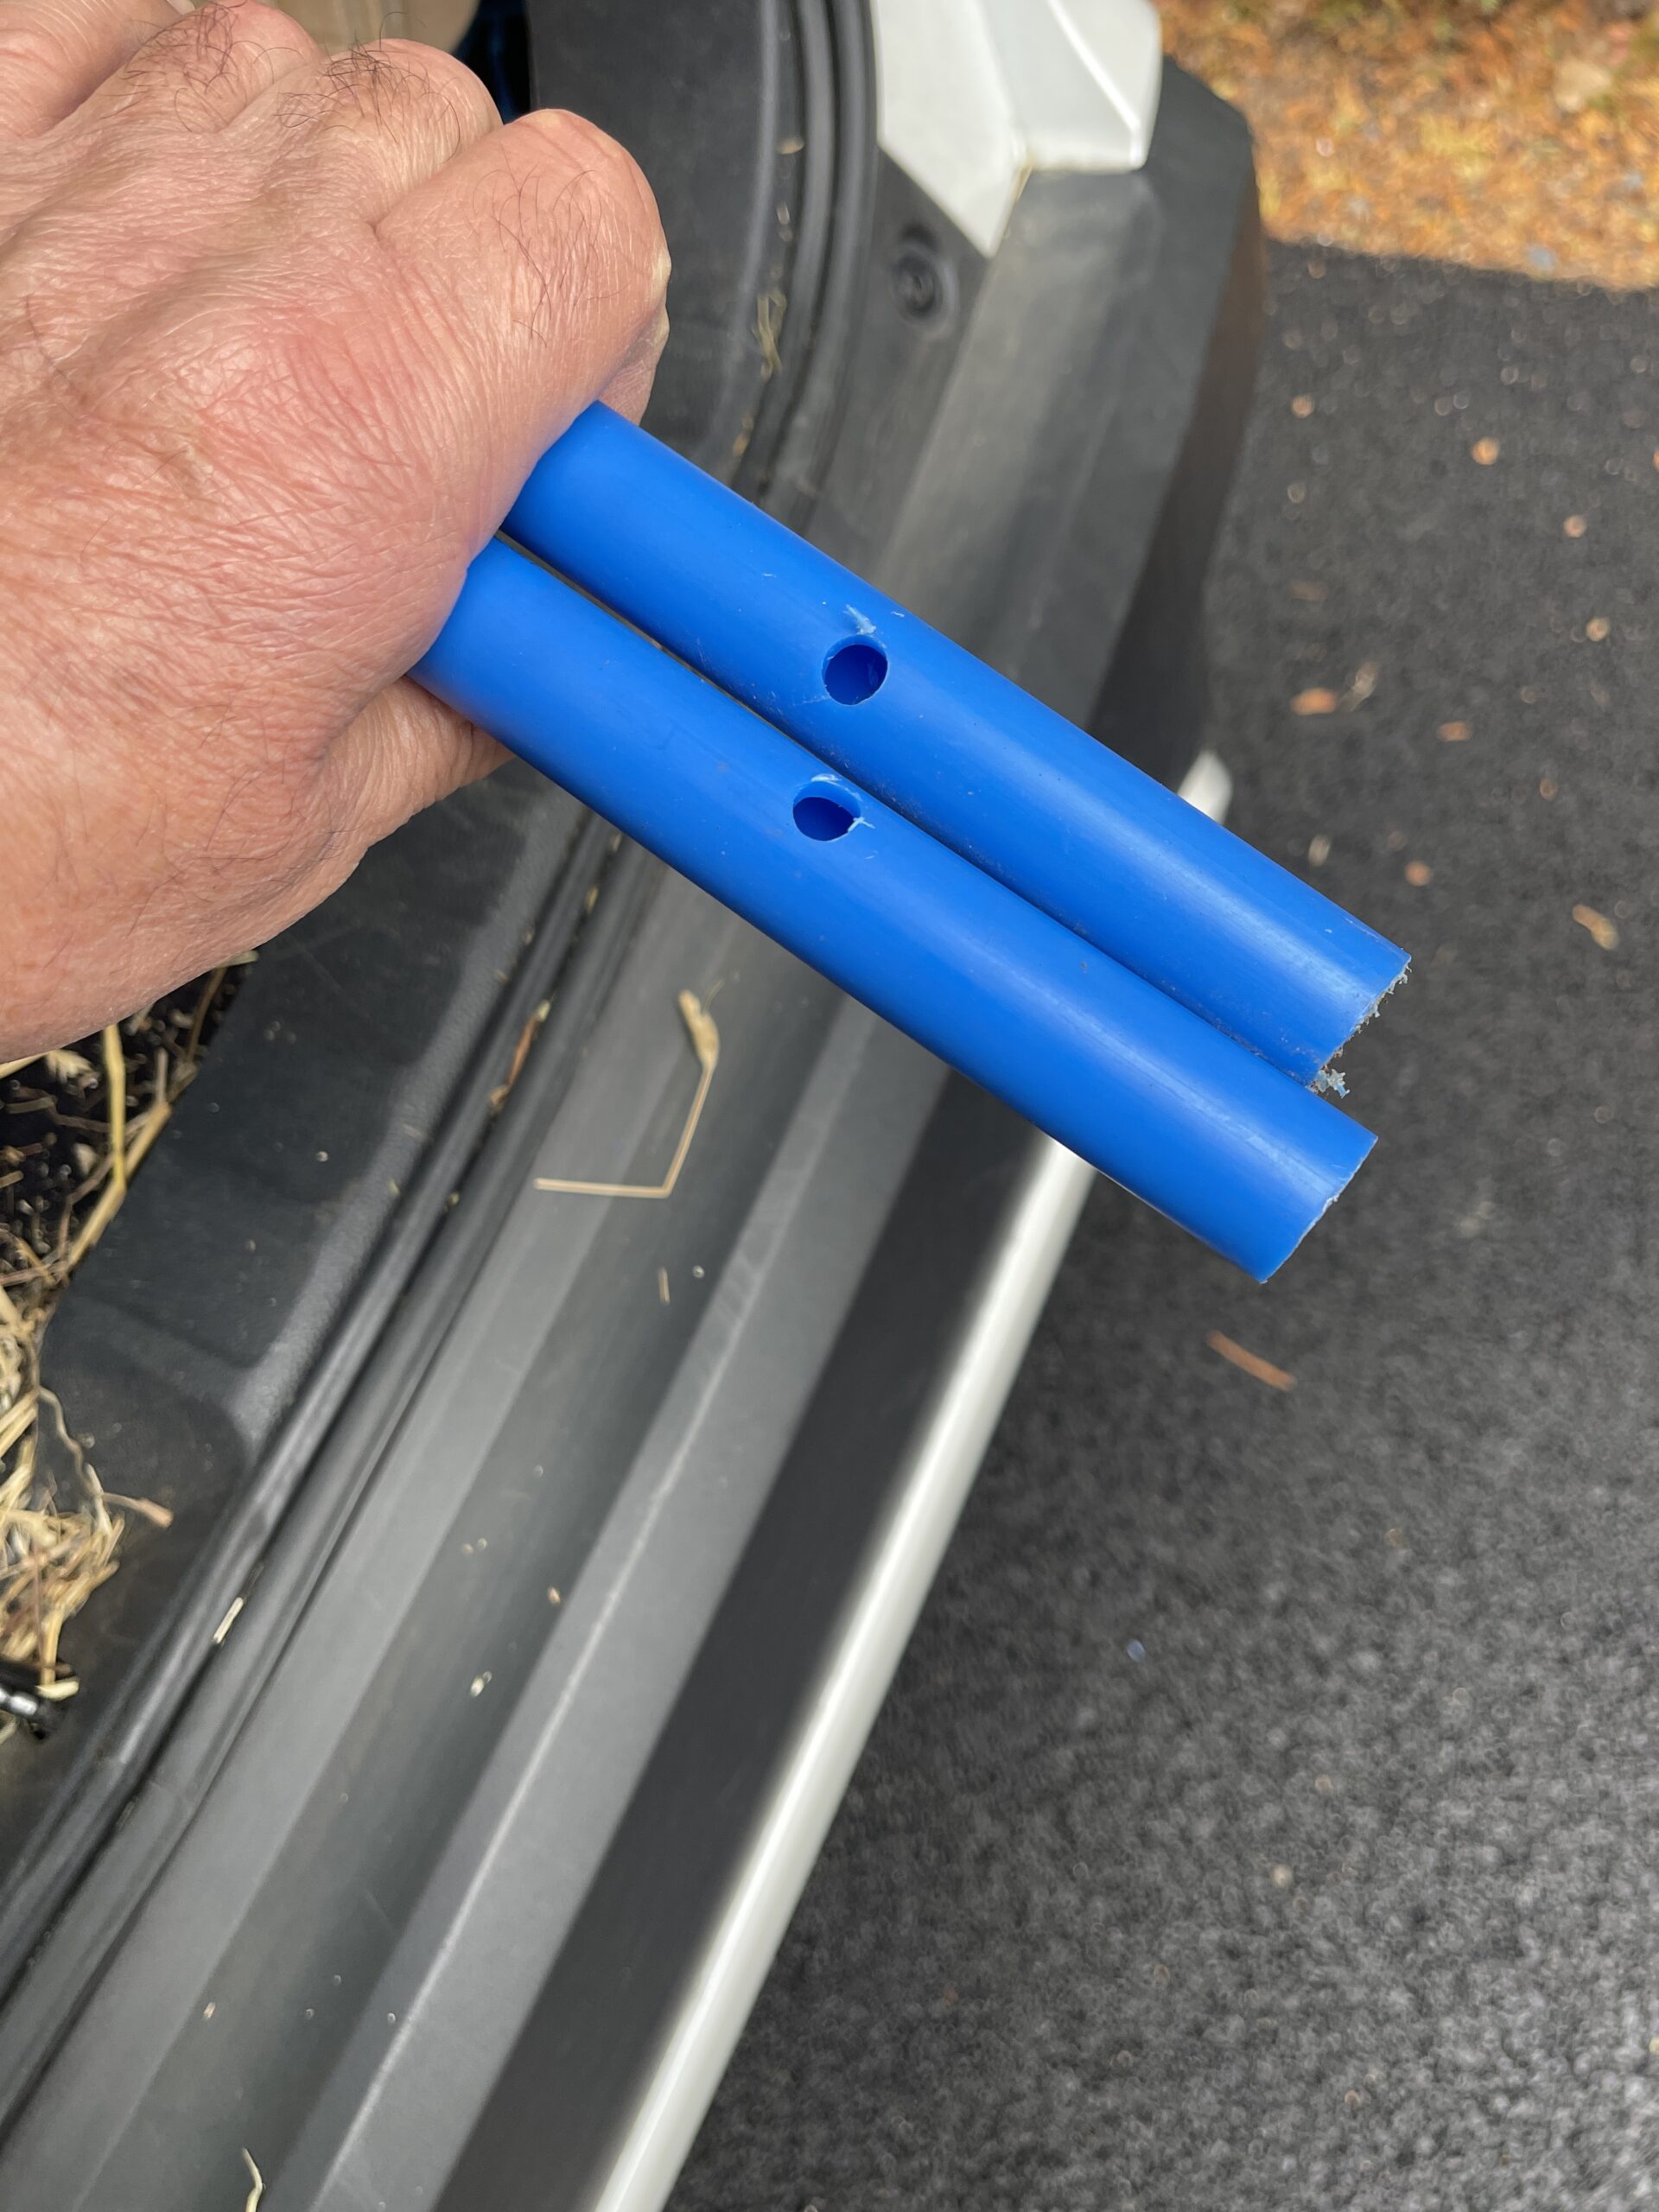
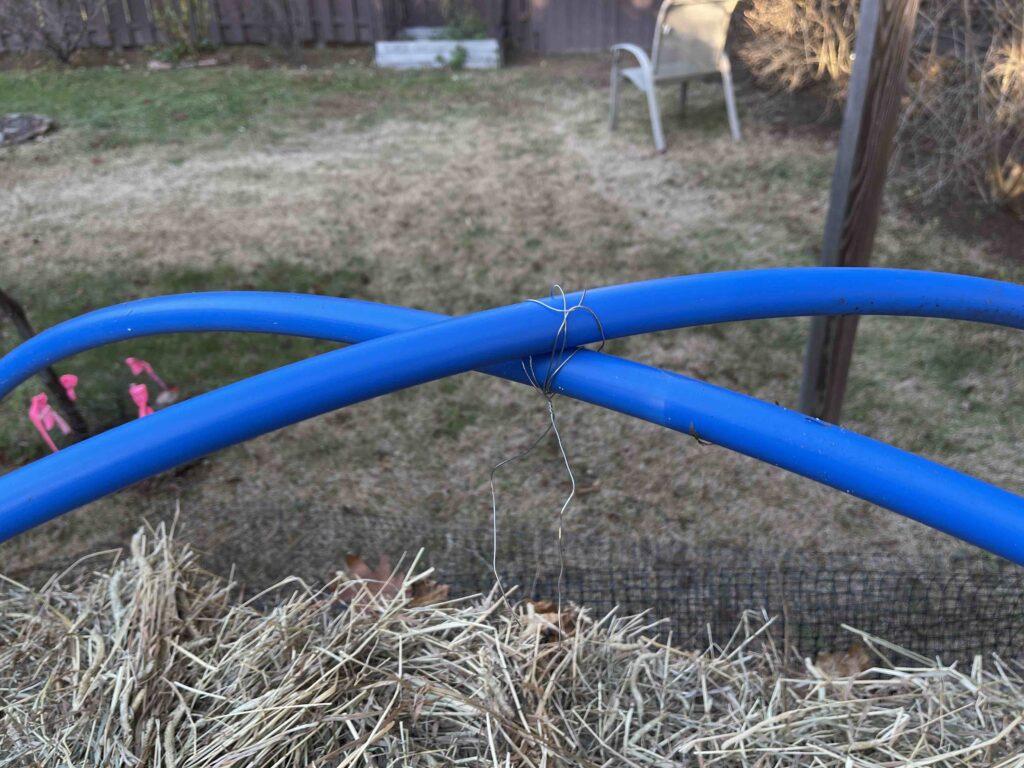
- Use two 6-foot PVC pipes, which you can purchase at your local hardware store, and secure them over the fig tree. Drill holes at both ends of each pipe so you can thread twine through them and securely tie the pipes to each corner of your raised bed or small fence. If there isn’t any fencing or if the fig tree is not planted in a raised bed, you can simply drive stakes into the ground at each corner and use those as anchor points.
- Drape a tarp over the PVC frame and secure the edges to the ground with 2x4s or something similarly heavy. The goal is to anchor it well so a sudden winter wind doesn’t turn your fig tree protection system into a flying object.

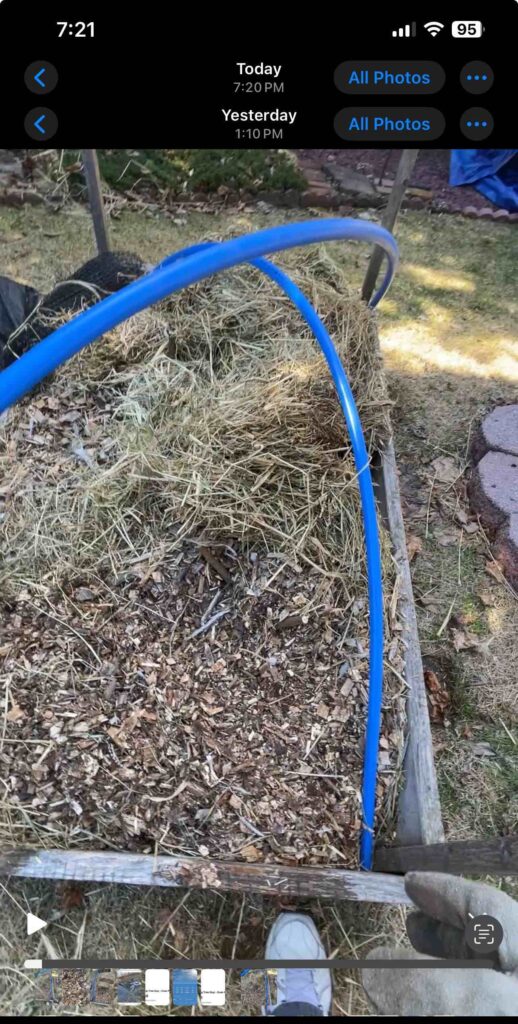
Here are a few images that will help you visualize the process, but feel free to contact me if you need help.


If you’d like to reach out to me privately, please use the contact form on this site.
Subscribe to receive blog updates by email.
Stay tuned, keep on rootin’ and happy growing!
Leave a Reply