
This page is geared toward gardeners who have fig trees planted in hardiness zones 7 and lower. If you live in Zone 8 or warmer, winterizing a planted fig tree is generally much simpler. However, even in warmer zones, it is still a good idea to protect your planted fig trees, especially in early spring, when tender new growth begins to emerge.
I have blogged extensively on this subject (ref 1, ref 2, ref 3, ref 4) and I will just summarize the winterizartion steps here. Please watch these videos before continuing.
Materials
Gather the following materials before you begin:
- Dry leaves
- One 2-gallon plastic bag
- One bale of hay or straw
- Two PVC pipes, approximately 6 feet long
- Five pieces of rope or twine
- Four metal stakes
- A small piece of tarp large enough to cover the structure
- Rocks, bricks, or another material to hold the tarp securely to the ground
Preparing the PVC Pipes
At each end of both PVC pipes, drill one hole large enough for the rope or twine to pass through.
Wait for Dormancy
The first and most important step is to wait for the fig tree to go dormant.
Many gardeners confuse dormancy with simply losing the leaves. While a fig tree losing all of its leaves is a good indication that it is entering dormancy, leaf drop alone does not necessarily mean the tree is completely dormant.
The longer you can safely wait, the better. You want the tree to be as fully dormant as possible before wrapping and protecting it for winter.
That said, keep an eye on the weather. A forecast calling for a sudden freeze, heavy snow, or prolonged cold temperatures may force you to winterize the tree earlier than you would otherwise prefer. It is much easier to winterize a fig tree while the ground is still workable than to attempt the job after snow and ice have arrived.
Prune the Tree
Once the tree is dormant, prune it back.
As a general guideline, leave approximately three nodes per branch. This keeps the tree manageable while providing enough viable growth for the following season.
Save Your Dry Leaves
You will need a good supply of dry leaves for insulation.
I recommend having approximately one 20-gallon plastic bag of dry leaves available. In the fall, as the leaves begin to drop, I collect and bag them and store them in a shed.
While in storage in the shed, keep the bags open. You do not want the leaves to become wet and soggy.
Remember: dryness is your friend.
Protect the Base of the Tree
Begin by spreading a thick layer of dry leaves around the base of the pruned fig tree. This provides additional insulation for the root zone.
Next, fill the 2-gallon plastic bag with dry leaves. Turn the bag upside down and place it over the pruned fig tree, essentially creating an insulated covering around the tree. Make a few small openings near the bottom of the bag to allow any moisture that gets inside to escape. The goal is to provide insulation while avoiding a sealed, damp environment.
Add the Hay or Straw
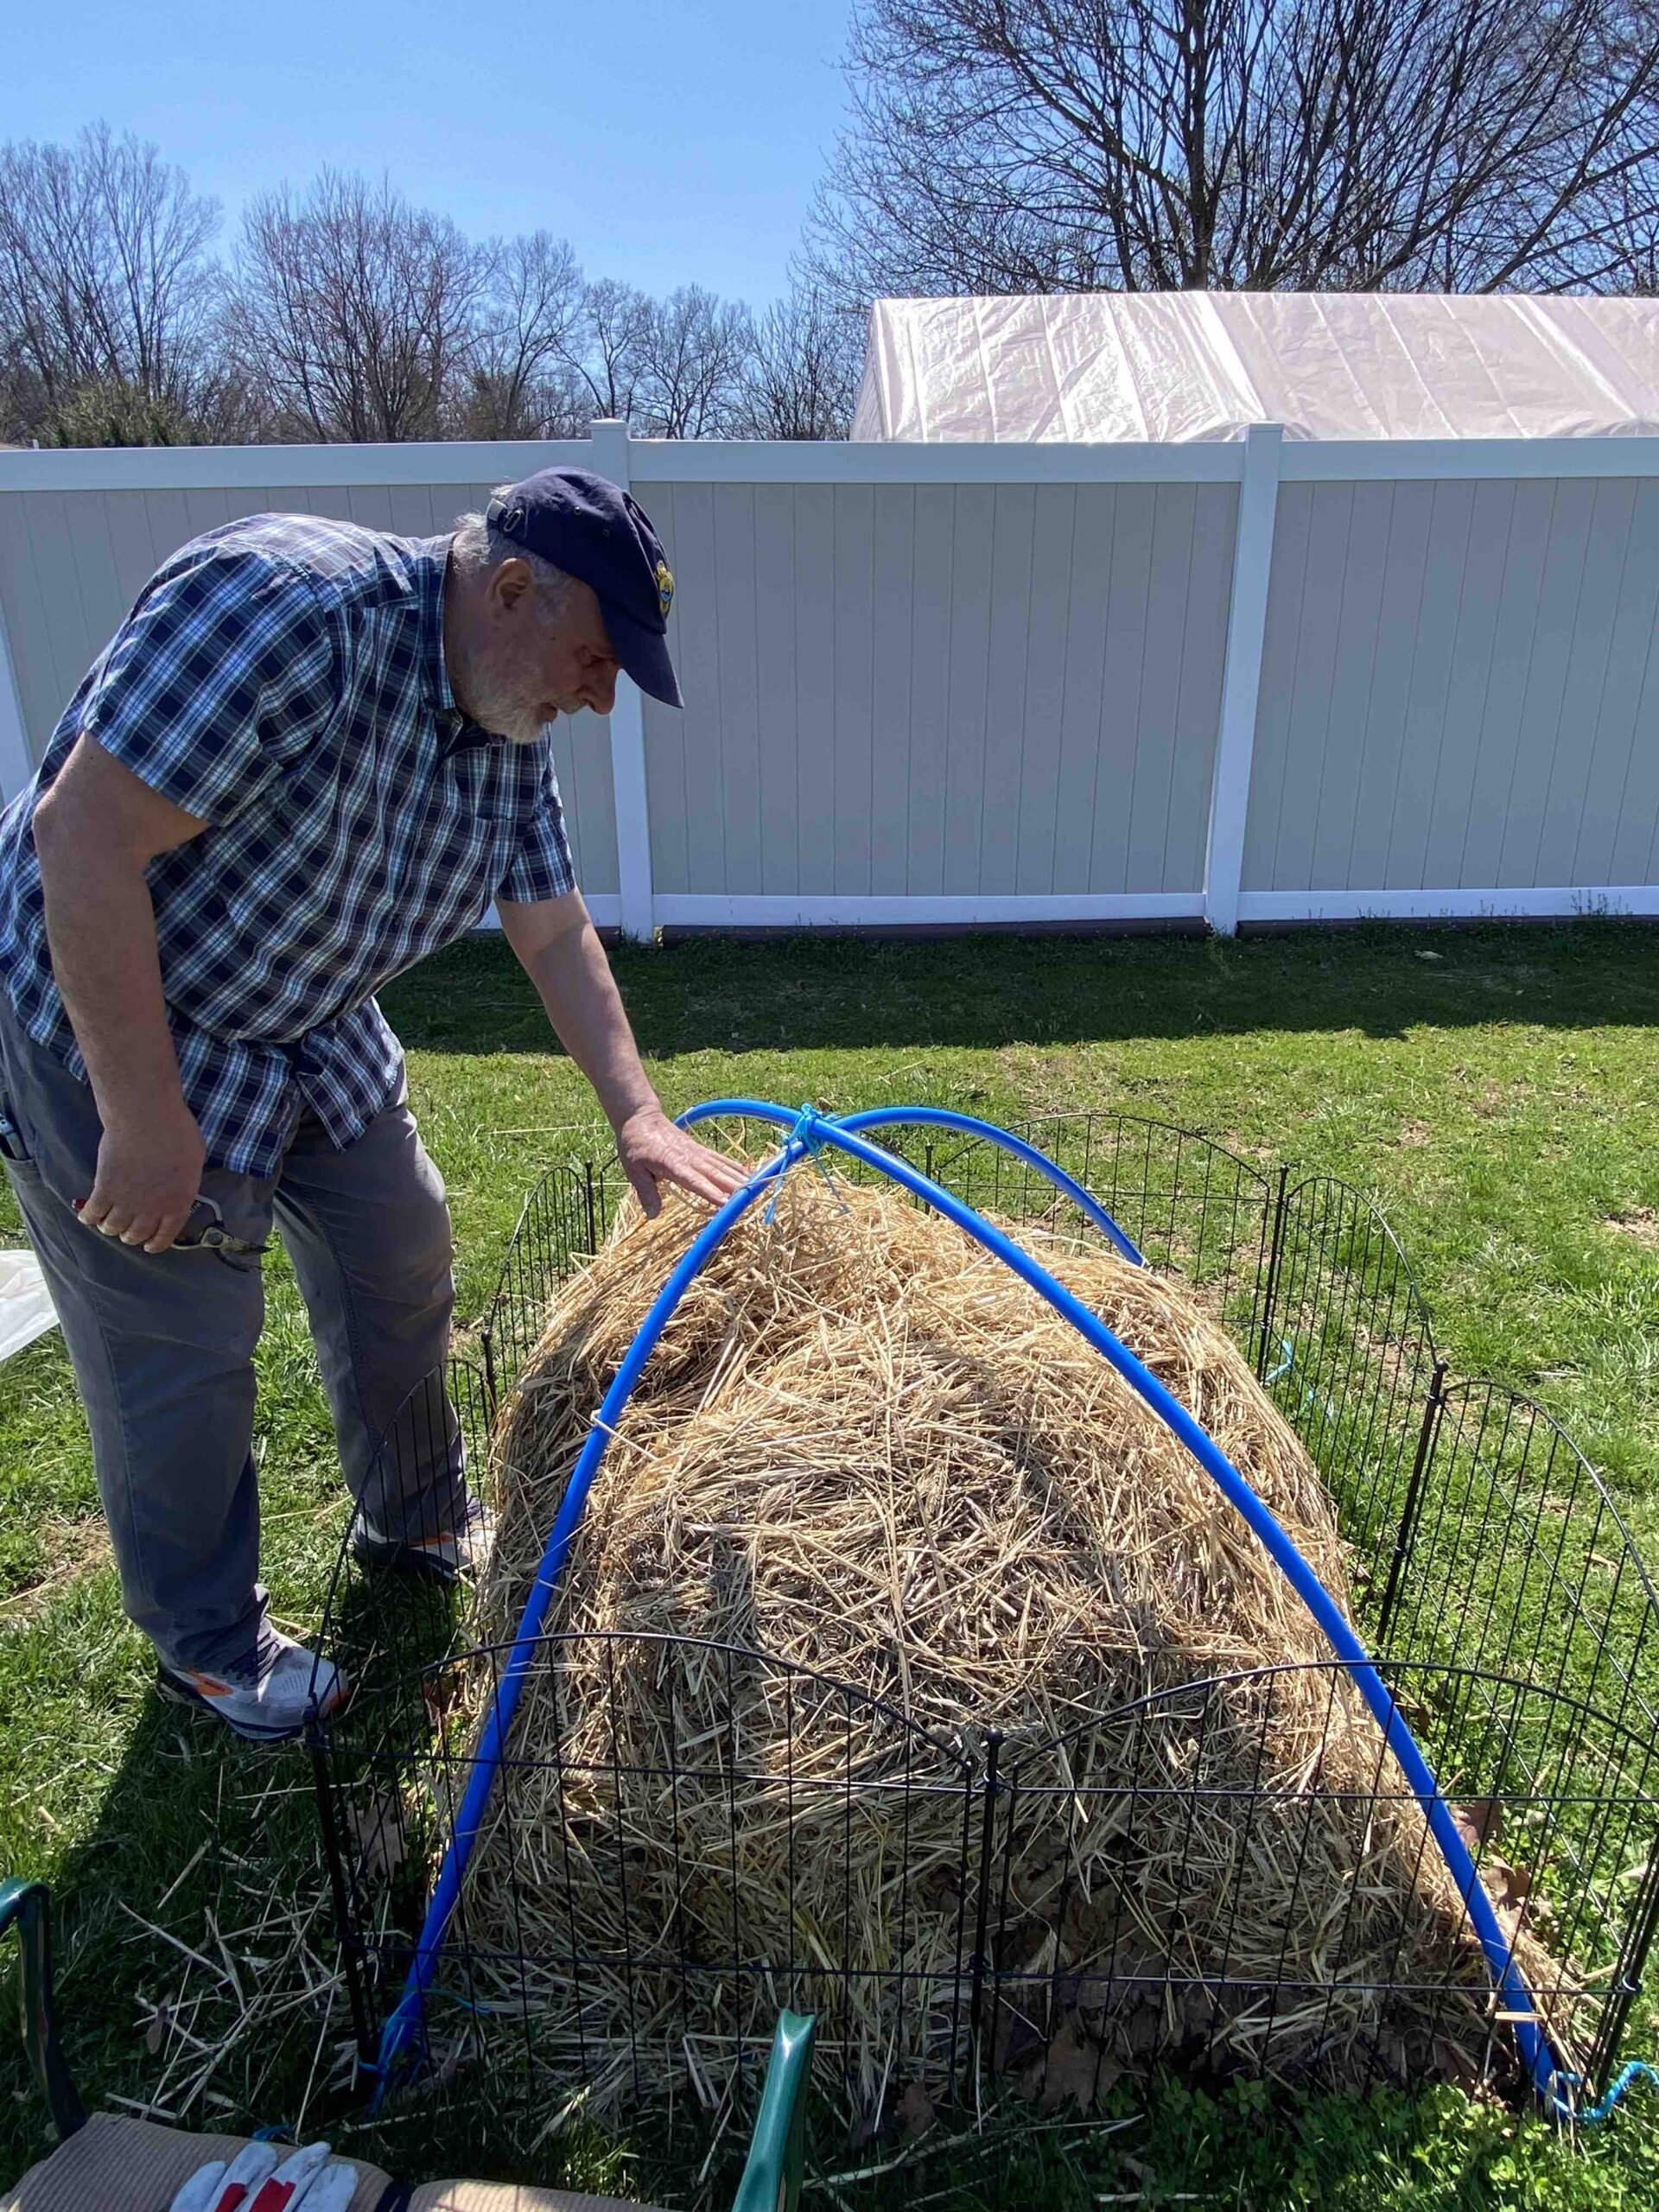
Spread hay or straw generously around the fig tree and over the area you have already covered with dry leaves.
The hay or straw serves as an additional layer of insulation, helping protect the tree from extreme cold and temperature fluctuations.
Build the PVC Support Structure
Now it is time to construct the protective framework.
Position the two PVC pipes in an X pattern above the hay or straw. The PVC pipes should create a framework that will support the tarp and, importantly, prevent the tarp from resting directly on the fig tree.
Drive one metal stake into the ground at each corner of the structure. Using your rope or twine, secure the ends of the PVC pipes to the stakes. Make sure everything is firmly anchored.
Finally, tie the two PVC pipes together where they cross at the top of the X. This is an important step. During winter, heavy snow can accumulate on the tarp. Connecting the PVC pipes at the top provides additional strength and helps prevent the framework from collapsing under the weight of the snow.
Cover the Structure
Finally, drape the tarp over the PVC framework.
Secure the edges of the tarp firmly to the ground using rocks, bricks, or another heavy material. Make sure the tarp is anchored well enough that a sudden gust of wind cannot lift it off the structure.
You want the finished structure to be secure, insulated, and protected from winter weather, while still allowing some ventilation and preventing excessive moisture from becoming trapped inside.
A Few Final Thoughts
Winterizing a planted fig tree may look like a lot of work, but once you have done it a few times, the process becomes fairly straightforward.
The key is timing. Let the tree enter dormancy, keep your insulating materials dry, protect the roots and branches, and build a sturdy structure capable of handling winter weather.
A little preparation in the fall can make the difference between a fig tree that suffers significant winter damage and one that comes back vigorously when spring arrives.